
The idea came from the opening scene of Raiders of the Lost Ark. Remember when Indiana Jones was in the passageway leading to the golden idol? He had to step on certain stones or poisonous darts would launch at him. We created something with a similar idea. The boys have to walk down our "Dangerous Passage". With a bit of make believe and some clever designing, a sheet of plywood and some pressure switches become the dangerous hallway Indy faced. We follow the Guide to Safe Scouting at day camp. There are no poisonous darts for this obstacle! If they step on a dangerous square, a horn will sound. Once they successfully complete the Dangerous Passage, they will have to successfully retrieve the golden idol (details to come!).
Here's how we came up with it...
I told Dode I wanted some kind of pressure sensitive pads that the boys could walk across. He did a lot of brainstorming. He originally thought of plastic Frisbees with metal foil underneath to make electrical contact when they get stepped on, but Frisbees were too expensive. We went to Lowe's and he browsed the different switches to see if something would work. It was a real struggle to figure out how to make a switch that could be set on the grass and be stepped on. It would have to put up with dirt, grass and 120 kids stomping on it multiple times. Once we decided all the "stepping stones" could be attached to a sheet of plywood, we were closer to a solution, but he still had to come up with a pressure switch. Remember playing Space Invaders in the 80's? You had to hit a button over and over to fire your guns. Dode figured arcade switches would be built to take a lot of abuse a lot of times. We got ours from X-Arcade. They come in a 20 pack so that's how many steps are in our obstacle course.
I started the project by painting a grid of "stones" on the plywood sheet. There are five rows with four squares in a row. You can't tell from the angle in the photo below, but the stones are sponge painted to give them texture. Together with the rough OSB board (a cheap kind of plywood), they make pretty good stones. If I had it to do over, I would sponge paint on the "grout" to give it texture before taping it off to make the stones. As it is, it's too flat looking to be convincing.

a few steps into the project.
6/22/12: rain, rain and more rain!
1. The board is painted into a grid of "stones"
2. 2x4's are installed along the edges and through the center to make room underneath for the switches (Dode still hasn't cut the middle 2x4 to length in this photo)
3. Holes are drilled in the center of each square for the arcade buttons

Our supplies: a car horn from amazon.com, arcade buttons, speaker wire from amazon.com, "3 way" light switches from the local hardware
 wiring schematic
Underside of the sheet of plywood. We've attached the arcade buttons (very easy to do, you just drop them through the hole and screw on the nut that comes with them). Each row has two "live" buttons and two "safe" buttons at any given time. In order to make it a random pattern, I took pieces of paper labeled 1,2,3,4 and dropped them in a hat. I drew them out and wrote my results down on a 4x5 grid on a sheet of paper. You can see it in the photo. We used it as a reference when we hooked up the wires. Example: in the 1st row buttons 1 and 4 are live, buttons 2 and 3 are safe. In the 2nd row, buttons 1 and 3 are live, 2 and 4 are safe.
Then we wired the buttons together and soldered the wires to the arcade buttons. Dode says you could also use little clips to attach the wires if you don't want to solder. We don't mind soldering and we're too cheap to buy the clips!

We wanted to make the dangerous passage adjustable. Each switch controls one of the rows of buttons. Remember that each row has two safe buttons and two dangerous buttons? Flipping the switch attached to that row changes the safe button to dangerous and the dangerous buttons to safe. That way, the boys can't memorize the pattern. It's a new challenge each time!

I don't have electricity where we hold day camp. The car horn is powered by our very well loved power wheels battery. Car horns run on 12 volts, so any 12 volt battery will work.

Miriam is ready for the horn to sound!
The horn is mounted underneath wich not only honks but makes the board vibrate under the kids feet.
She finds it absolutely hilarious when other people set off the horn and gives off a huge belly laugh when it happens.

William makes his way across.
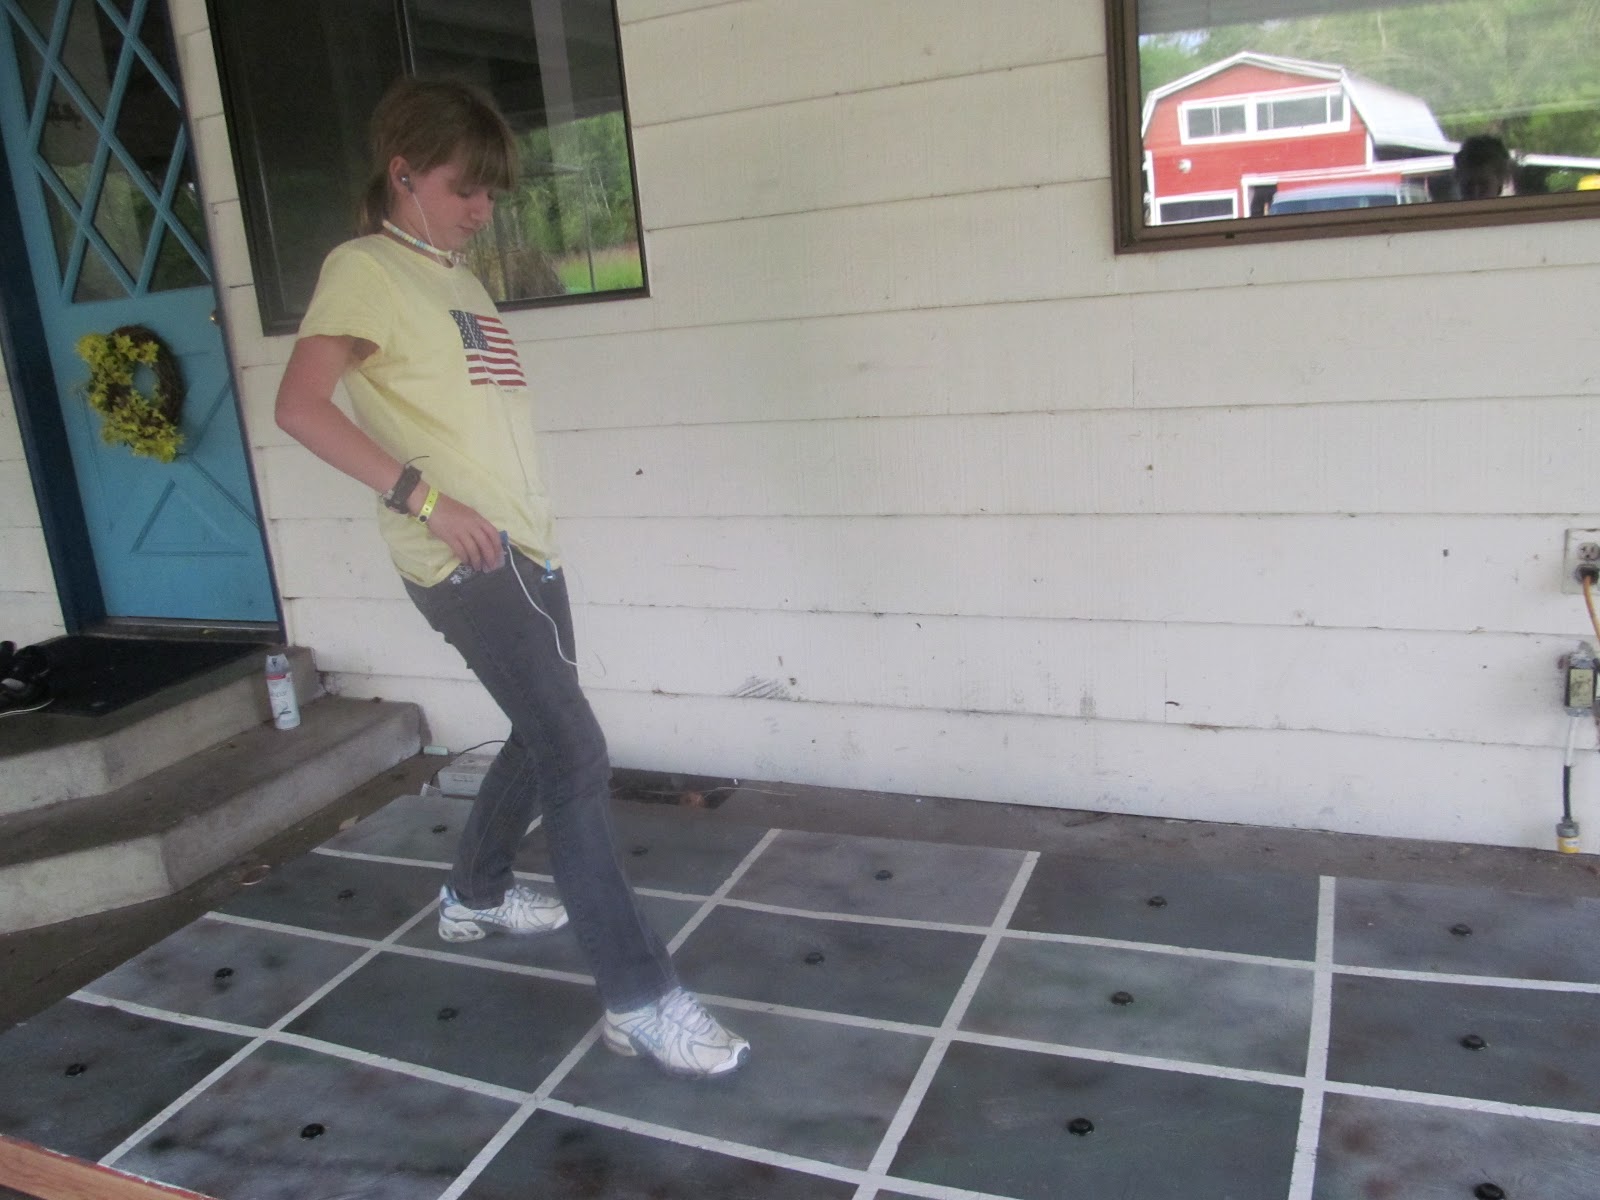
gingerly stepping forward
Wow..you two are amazing. Love mom
ReplyDeleteSo I'm thinking next year you should just go ahead and build a spaceship- you two can obviously build anything!
ReplyDelete