
It seems like as I go to garage sales and second hand stores, I see a lot of Star Wars themed materials. In the beginning of collecting items for our Outer Space themed camp, I wanted to find an adult Darth Vader costume. Dode talked me out of it, explaining that Darth Vader doesn't really teach positive values. If someone was walking around as Vader at camp, the cubs would all be mobbing him. So I changed my plan a bit and decided I wanted to have a statue of Darth Vader at camp somewhere. I looked online for parts of his outfit and everything was way too expensive. So, I used some improvisation to come up with my homage to Vader. It didn't cost me much at all!
I already had a dress form I'd picked up at Value Village years ago. Vader is a big, powerful guy so I needed something to build up his upper body. I decided football pads would be just the thing. I started looking on craigslist for cheap pads but couldn't find any. Then, we went to a fundraising "by donation" garage sale where you decide how much to pay and low and behold, I found a set of pads! Score! I had the skeleton of my Vader!

Vader's skeleton
I had a black satin skirt and long piece of material I'd used as a Halloween costume many years ago.

The original costume was called "Abducted by Aliens". Can you tell it was a sunny day? Also featured: Isaac as a hunchback, Elizabeth as a cat, Willilam as a clown, Miriam as a bee, and Anastaya as a southern belle.
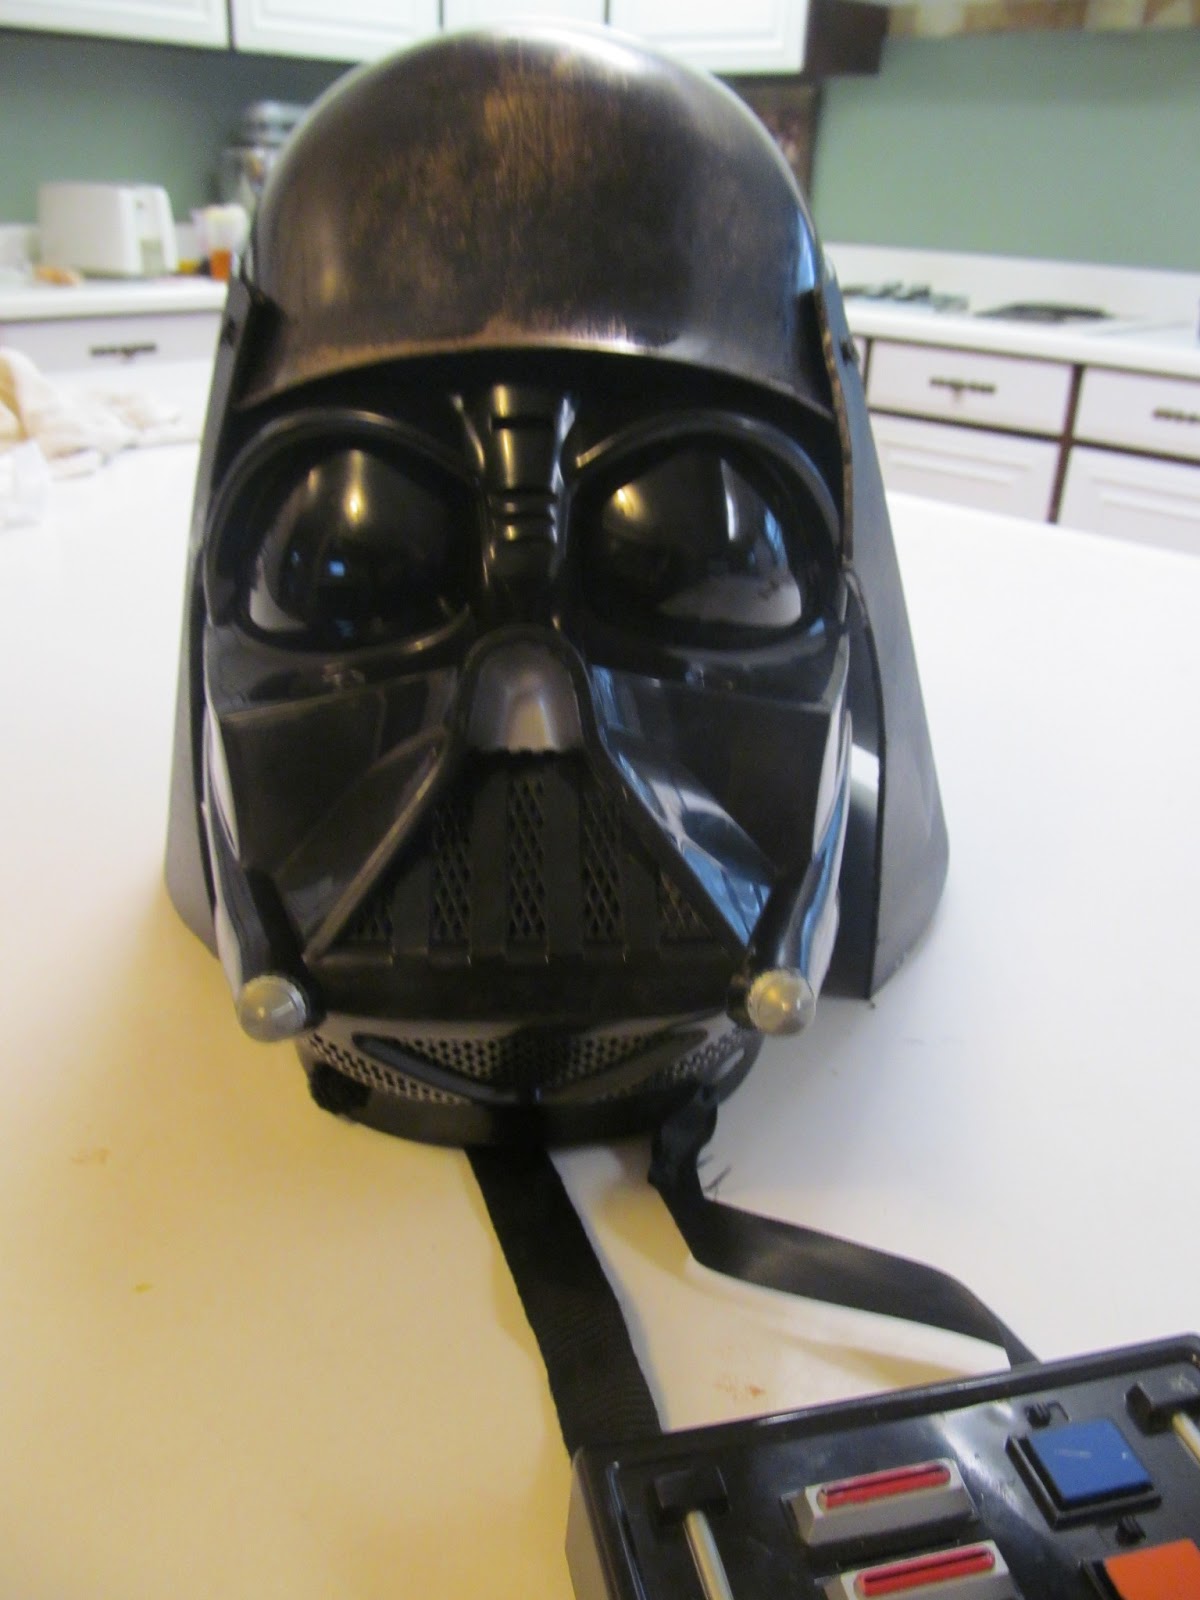
Isaac had the black leather jacket and I picked up a pair of black leather gloves at Value Village for $2. His outfit was complete. Just one problem, no head! I looked online and realized what I needed was a full 360 degree helmet which ran around $100. That was just too much for a prop at camp. But, I kept my eyes open and low and behold, another visit to the same garage sale (happens twice a year) brought me the face mask! The helmut that covers the top and back of his head was missing but I figured I could do something!

Looks a bit naked without that helmet doesn't he! As I was building him, Elizabeth came out and said, "Some thing's not right!" She ran inside to find a movie case so she could figure it out. I went back to the Internet but no one was selling just the helmet. I let the problem percolate around in my mind for a while and then remembered that I'd purchased a medieval helmet at Dollar Tree and stashed it in my supplies for upcoming day camps. I dug it out, pried off the face shield and got to work coming up with a pattern for the rest of it. As Elizabeth sat at the computer doing her school work, I used her as my model.
When Dode got home from work one night, I showed him what I was working on and we brainstormed what material to use for the 2nd part of the helmet. I thought about sacrificing my sewing cutting mat to the cause. We looked at plastic bins but they weren't large enough. He though about using a thin sheet of metal. I even considered using thick cardboard but worried what would happen if it rained during camp. Dode ended up cutting the piece from a 5 gallon bucket that was in our "heading to the dump" pile. I spray painted it black and we screwed it on. I was planning on painting the whole thing again a shiny black but I think I like the two toned look. It doesn't flare out as much as the real deal but I think it looks pretty good for a dollar store helmet and plastic bucket!

I wasn't worried about my original paint job because I was going to cover it. Now it looks like he's been in a battle on the back!
I attached the helmet/mask to a PVC pipe with a zip tie and shoved that down under the football pads to give him stability.

To make the arms and hands look like there is something inside, Dode stuffed the arms with newspaper and used wire coat hangers to bend them into place. The wires are threaded under the pads and attached to the dress form in the middle.

This way the arms are anchored to the statue.

Here he is in all his glory!
The elementary school my children attend are having a space themed carnival and I lent Vader to them. He was placed outside the front door and my children were so excited to pass by him on the way into the school. Dode had big plans to install a light sensor so Vader would talk when you walk by him (the mask I bought says several things when you push buttons) but it looks like that's not going to happen. It would be cool though! I had Vader outside while I was working on my initial assembly. Some of Jacob's friends swung by when he was at work and a few hours later he got a text, "The Vader is very creepy." It was a windy day so his cloak was blowing in the wind, adding to the ominous feeling!
So, there you have it, a pieced together Vader that cost me less than $20. Proof that when you let your mind brainstorm about something long enough, you can come up with just about anything! And, further proof that Dode and I make a pretty good team.
No comments:
Post a Comment